Firstly I went on to Google and found this picture of the Hogwarts Cress.
I then loaded it into Cinema 4D.
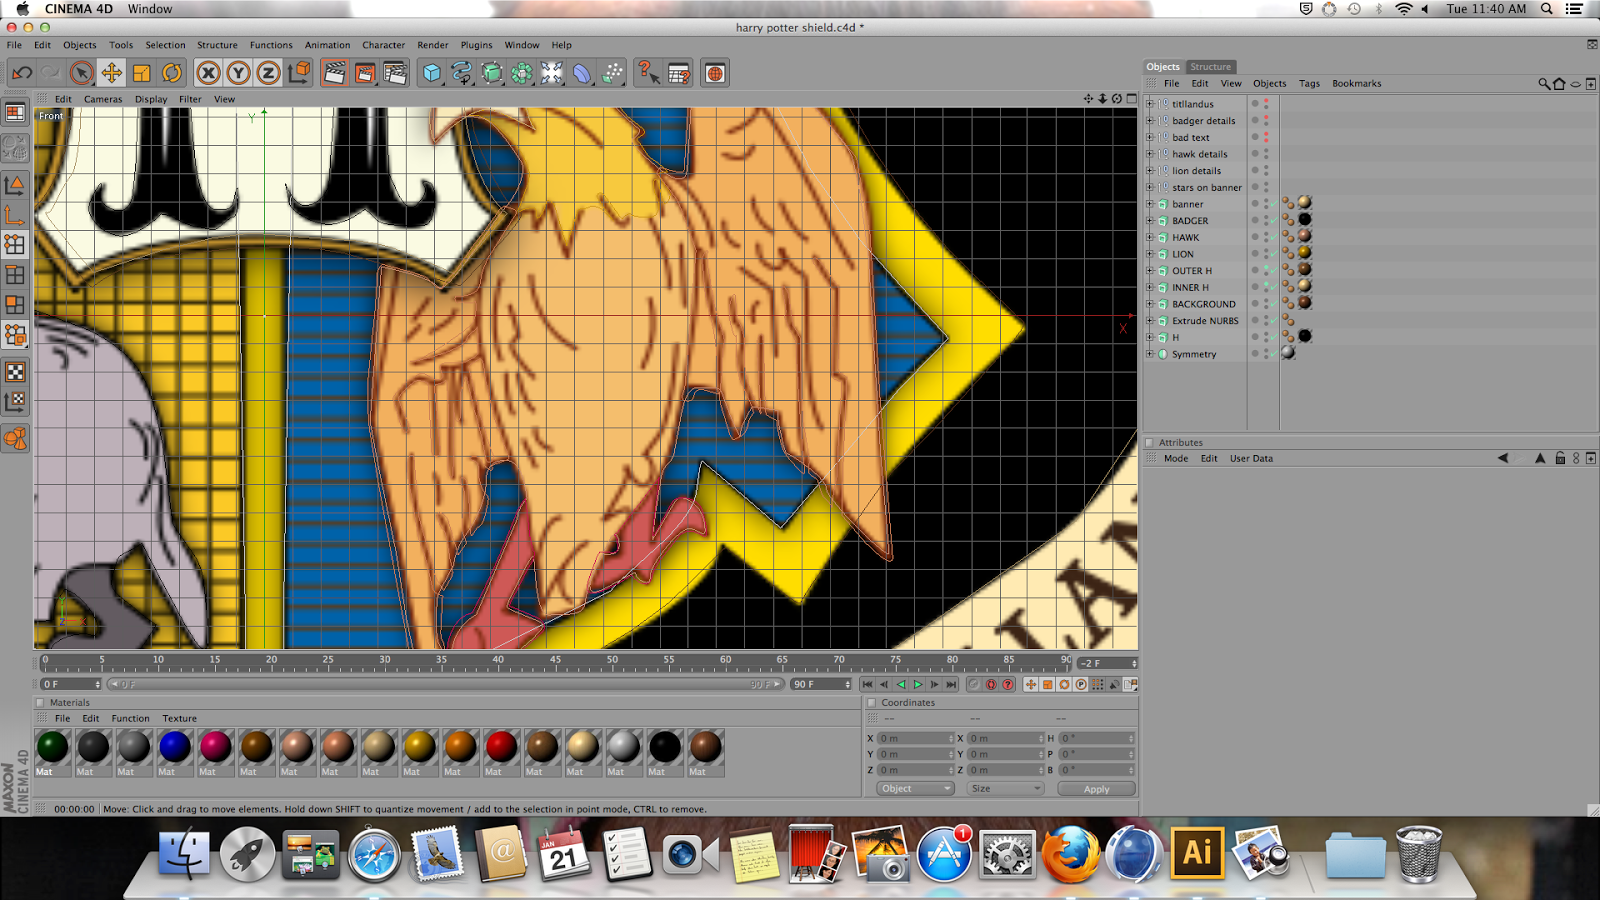
I then put it on front view. I then did an outline of the outline of the crest using the bezier tool.
I then extruded the spline using the extrude nurbs tool and made the spline a child of the extrude. I then went to perspective view.
I then went to materials and picked a wooden material and put it on the crest outline.
I then went around the outline of the 4 parts where the different animals are with the bezier tool.
I then extruded these too.
I then did the one of the outlines of the crest around the H using the bezier tool.
I then put a brown material on this.
I then did the second outline of the H .
I then out a lighter wooden colour on it.
I then did an outline of the lion.
Extruded it.
Then put a light orange material on it.
I then did the outline of the H that is in the middle of the crest.
Then extruded it then put a black material on it.
I then went around the eagle.
Then extruded it then put a brown material on it.
I went around the badger.
Then extruded it then put a black material on it.
I then went around the banner.
Extruded it and put the lighter wooden colour on it.
I then did the stars on the banner with the bezier tool.
I then extruded them and put a red material on them.
I then began to put details on the animals starting with the lions mane, eye and nose.
I then extruded these details and added the colour.
I then did the details of the eagle.
Then extruded and added colour.
I then did then did the details of the badger.
Extruded them and added colour.
I left the snake till last because I knew it would be the most complicated one to do, I went around the top part of the snake first.
I then extruded and added a green material.
I then did the bottom part of the snake in different parts so you could see the curl of the tail.
I then extruded these splines and then added colour but on one of the parts I added a slightly different green so you could see the curl in the tail.
For the writing on the banner I had to go on Adrobe Illustrator as Cinema 4D wouldnt let me put on the font I needed.
I opened Illustrator and wrote the words I needed.
I then changed the font to the font I needed which is 'Charlemagne STD'
I then made the writing bigger.
Then separated the words by putting them on different lines.
Then made it a bit bigger in font.
I then added outlines on to the letters to make it editable to Cinema 4D.
I then saved it.
But because on the college Macs the Cinema 4D is a older version so I saved it as as Adobe illustrator 8 so it would load into Cinema 4D.
I then edited all the letters to the right size and rotated to them to the right way.
After I had done all the letters I extruded them and added a black colour.
This is the final product in different angles.


No comments:
Post a Comment